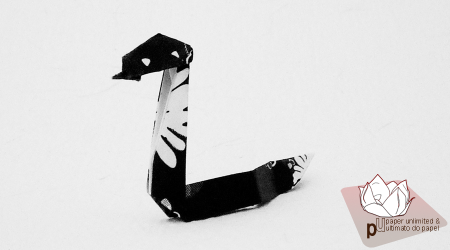
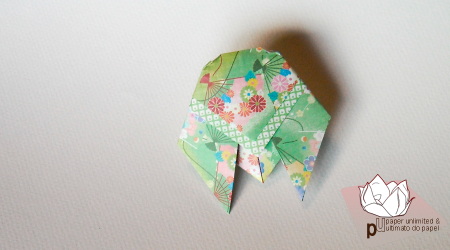
Happy birthday!

2015|01|17
Eight years ago I created this blog/ site to share my passion about origami. In these eight years many things have changed, yet my passion with origami is still ablaze… The excitement of folding paper until it becomes something else, be it dazzlingly simple, of sculptural beauty or just lovely as the joy it brings. I had the opportunity of sharing this joy with others and, that too, is another motive for celebration!
Eight years ago I talked about how I’ve come upon origami eight years before. Where will we be eight years from now? I don’t know and, in all honesty that’s fine, I’ll just enjoy the now with calm breaths while folding.

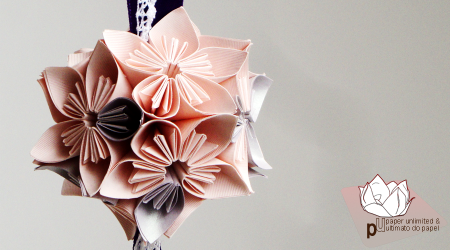
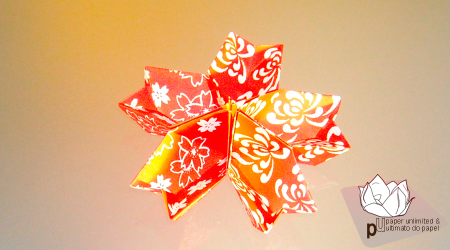
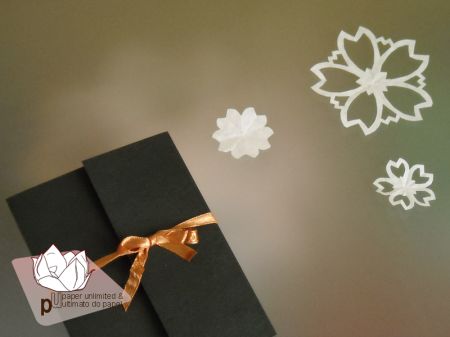
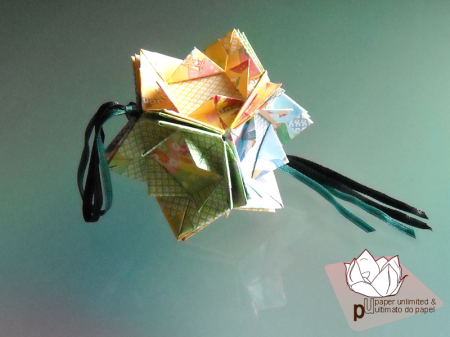
Eight years ago I left a preview of a widely known and appreciated modular creation of Mr. Toshikazu Kawasaki and now I leave you with, perhaps a less known, creation of his, the president’s cherry ball or 大統領の桜玉, in japanese.
Happy birthday paper unlimited! May I share many more folds with you! (more frequently too!) :)
Thank you for visiting, come again!

Toshikazu Kawasaki's new sakuradama: president’s cherry ball or 大統領の桜玉
Note: yes, I have a new camera! Not an DSLR but it’s awesome and I’m putting it to good use. As you can see in the photo of this gigantic sakuradama! Seriously, I folded it big…
And yes, logo update on the way!

News soon! :)

2014|10|09
Just a little hello, and how do you do! :)
I am now without a digital camera and, even though I’ve been folding, I have no way to photograph the little beauties. I am now venturing in the wide world of DSLR as I plan to buy something more than a point and shoot camera. Or I’ll just succumb to the practicality of one and the eye catching low price… I’ve also discovered that most of my friends have their cameras malfunctioning or simply dead. Or use analogical cameras… There are plenty of those too. Oh, wait, I’m (now) one of those too… ;)
However I’ll have a digital camera for half a day, so I’ll be able to post some origami. As a side note, if you want someone to lent you their camera be sure not to tell you have broken yours in a totally clumsy way. That doesn’t help people to trust you with their camera…

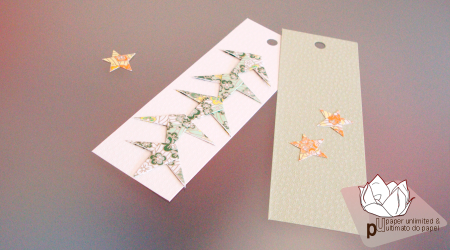
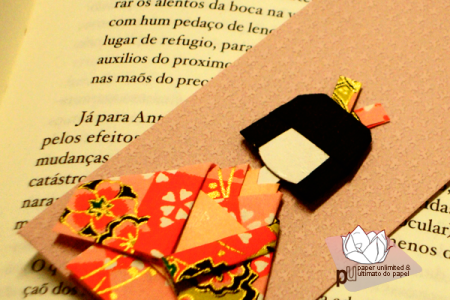
So, enjoy this bookmark of a girl in a kimono and send positive vibes for my chances to get a digital camera! Specially a DSLR one! :)
Also, thank you for your visit to my humble blog!
pu+ningyoshiori

Waribashi and online diagrams

2013|12|01

As I have previously mentioned, I collaborate with Waribashi – a free portuguese online magazine featuring japanese culture and events – on the origami section. Recently, or not so recently, I have added the responsibility of the facebook page of Waribashi, on management and creation of content, and even though I’m quite silent in the blog I still fold! Rest assured! :)
So, since I have yet to finish a print version of the models I’ve been folding and diagraming for Waribashi, not mentioning other folded models, here’s a short assembly of the models with a photo and link to the magazine featuring it (since 2012). All models are quite simple!
No knowledge of portuguese is required. Use thinner and strong paper for small models, sturdier paper for bigger models!
A safe choice/ recommendation:
. rice paper for tiny models
. kraft paper and wrapping paper for small models
. origami paper, wrapping paper and/ or copy paper for bigger models
. exception: tanzaku, use sturdier paper or light cardboard for the base and origami/ wrapping paper for the model

Happy folding!

links open in new tabs/ windows and are a direct link to the magazine online pdf

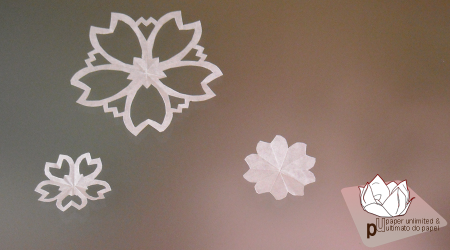
Waribashi 39, kirigami sakura
April 2012, Waribashi 39
Kirigami Cherry Blossom : 切り紙の桜

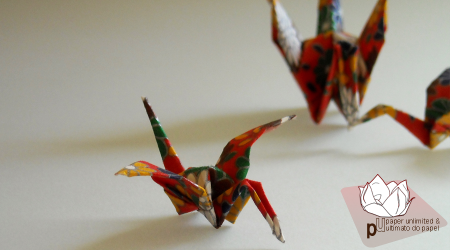
Waribashi 40, tsuru
June 2012, Waribashi 40
Crane, twin cranes and mother and child cranes : 鶴、双子鶴、親子鶴

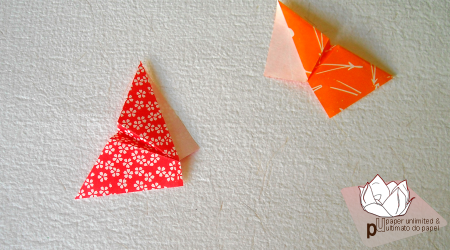
Waribashi 41, butterflies
August 2012, Waribashi 41
(simple) Butterfly : 簡単な蝶

Waribashi 42, traditional kusudama
October 2012, Waribashi 42
Kusudama, traditional : 薬玉、伝統的

Waribashi 43, hebi
February 2013, Waribashi 43
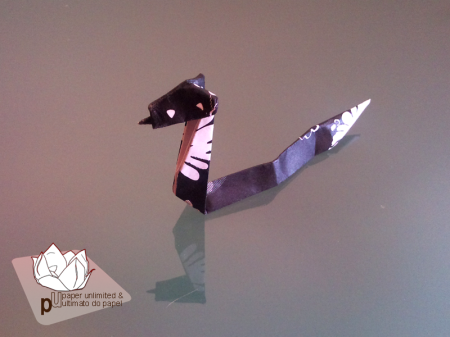
Snake and Year of the Snake : 蛇と巳年

Waribashi 44, unit sakura
April 2013, Waribashi 44
(yet another modular) Cherry Blossom : (ほかのユニット) 桜

Waribashi 45, semi
June 2013, Waribashi 45
Cicada :

Waribashi 46, shiori, tanzaku
August 2013, Waribashi 46
Book marker and Tanzaku : 栞、短冊

Waribashi 47, akino ha
October 2013, Waribashi 47
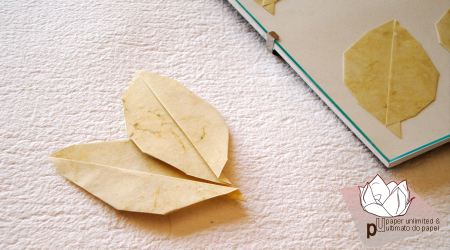
(simple) Autumn Leaves : (簡単な) 秋の葉

December 2013, coming soon!

cherry blossoms!

2013|03|12

Since it’s almost cherry blossom viewing time, enjoy!

As I stated in my last post, I’ll try to post this diagram soon, too.
Even though I’m more of an origami person, sometimes I also enjoy kirigami. These blossoms are very easy to do and turn out so pretty and delicate!

simple sakura kirigami

edit › You can view the diagram in Waribashi 39! A free online portuguese magazine about japanese culture. No knowledge of portuguese required for this kirigami tutorial! ;)

Happy (Chinese) New Year!

2013|02|10

So another year passed by, me still alive and, as usual, overworked!

 happy year of the snake

I have so many new things to show in the blog and no time! :/
Anyway, happy new year!

little flowery snake

I will really try to post this snake diagram anytime soon! It’s derived from a Yoshizawa Akira snake, I just changed the paper format and a few things here and there :)
Hoping all of you are having a fantastic New Year!

edit › check out Waribashi 43 for the diagram! It’s in portuguese but the diagram is easily understood! :)

animals: scottie

2012|03|10

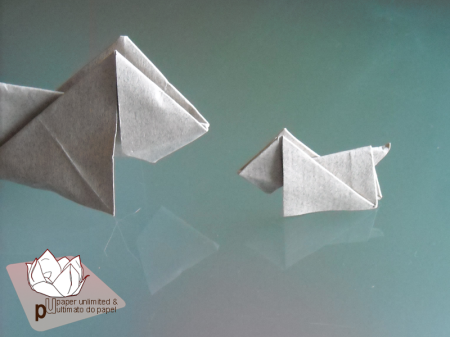
As soon as I saw this dog I knew I had to fold it! I love simple models! This model captures the essence of a scottie dog and is quick to fold. And easy! What can possibly top that?
I was planning on folding it with brown canson paper. I know I have some. Somewhere. I must’ve had stored it away to protect it. Having a cat and humidity next to paper insures a short life span. Adding to that, the more expensive the paper the more my cat likes it. Back to the paper, I couldn’t find it so I went with the first square cut paper I found: a beige grayish canson and a blue grayish paper which name eludes me at the moment. After that I found black paper and so a black scottie was born. I love the black scottie! Dark colors suit this model well!
I misread the diagram the first time so I made one extra fold that is quite visible on the first photo, on the bigger scottie. Oh, please do not be like me and actually ensure that the paper you use is square. My squares weren’t completely squares (they were off by a millimeter or so in smaller papers and by 2 or 3 millimeters on the bigger paper) so one of the ears of the scottie isn’t as pointy as it should be. In *all* models. You should always verify that the squares you cut are indeed squares. And so should I!

Scottie is authored by Marc Kirschenbaum.
More information on the model: a 6.5×6.5cm / 2.55×2.55″ square becomes a 3cm / 0.8″ tall by almost 5cm/ 2″ tail to muzzle scottie.
Wet folding offer good results because the final model does not open up. As long as it dries prevented from opening up, that is! I use a strip of paper, secured with tape, for that. Drying complete, strip away. Hmn, nice wording.
This diagram is available online! You can see the diagram by clicking at the preceding sentence.
I recommend dark colours and wet folding for this model but as long as you use a paper you like and enjoy folding anything is fine. Happy folding!

As usual, but even more than usual, I’ve been busy. That’s why there’s such a gap between posts! Now I’m taking any coffee break I can to post about models I have been folding. That or you get a post a year and that’s a no-no!
I’m just using paper leftovers, already cut in small squares, to fold models I like. Models simple enough to be foldable in little time. Since I like simple and small models it works fine. A back to basics or a less is more kind of approach.
So, busy people out there who like origami, these posts are for you!
These models are perfect for beginners too! They require little paper, little time and are easy to accomplish. Great to boost your confidence, add some nice folded figures to your collection or to give away!
And just so you know, actually, instead of a coffee break, it’s a tea break. I’m more of a tea person! Having some Earl Grey, Assam and green tea at my place ensures happiness. On winter, with cookies, and some folding, it’s pure bliss! :)

kusudama: mosaic box (iii)

2012|03|03

Here are some unexpected developments!
Isabelle, somewhere in a comment around the blog, said she wanted to do the mosaic box/ モザイク Box and that the diagram is no longer available. When I was backing up my drive I remembered it; so I made a search for the diagram, and contrary to all my expectations, the search returned valid results. Naming, the diagram! It’s as I copied it from Mio’s site: in japanese and it even has the go back and forth arrows. Ahahaaa, I should’ve deleted those, at least. And remember the diagram is © by Mio TSUGAWA! ;)
I’ve talked about the mosaic box before, here and here. But going back… Those were some nasty photos.

I think the diagram is quite understable but since I know some japanese I might be using it unconsciously.
Just bear something in mind:
1. If you start with squares of 15cm/ ” you’ll be ending with a half the size kusudama so you might want to avoid small papers. At first.
2. The back of the paper will show, be it white pattern or plain simple colours. Cheap options for paper are wrapping paper and, of course, kraft.
3. Have paper clips or some small (cloth) springs at hand. It will be handy when assembling. I recommend glue, too, if you want your kusudama to stay assembled.
4. The kusudama has a cubic shape, so only 6 sheets are needed. It’s simpler to assembly a corner, with 3 units, another corner with another 3 units, and, after that, join the two corners to form the cube. Assembling it one by one will make it harder to tuck in the last piece.
5. Have fun! :)
This is quite easy to fold and even though it’s simple it’s quite nice when complete!
I even folded one since it’s so simple! The wonder of cube like kusudama and only 6 units!

And here I am with another post… Wow. I’m starting to think that I can even post about the long awaited cherry blossoms before summer. Now, it seems possible!
I guess I’m complying with the new year resolutions! Feeling good! :)
Happy and fun folding!

animals: cat (i)

2012|02|25

This is the first of a series of cat posts. There will be a post with a variation of this cat and another post with a different model. If I get the time you’ll get to know even more cats! But, be aware, I can’t specify the time frame between posts! I’ll say no more since I’m owing some kusudama and flowers to the blog and to you, beautiful people who visit this blog even when I have so little time to update it.
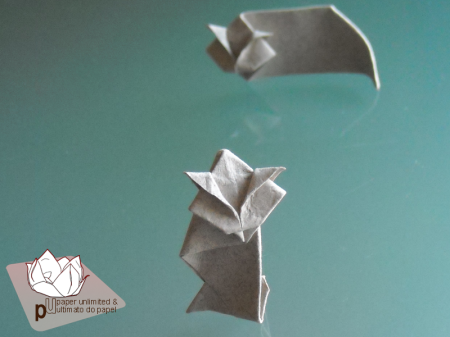
TAKAI Hiroaki's cat and standing version

But I have a plan! To buy a transparent necessaire, or a neat transparent bag, for me to carry paper in the bus. This way while I travel back and forth I can fold units and put them somewhere where they are not squashed by my laptop or the books I carry. If I fold 5 units a day, and I use the bus at least two days a week, I can have a 30 unit kusudama in 3 weeks. Long? Yes, but I’m taking any available time to fold. Recently it’s a kusudama every 6 months, 3 weeks is no time at all!
I do not like to read in the bus and I have no time to fold, or so I though, so this is a hour per week, minimum, to fold!
This is the plan!
I’m sharing because, who knows, there can be someone like me out there! You want to fold, you have no time, and then you realize that you may squeeze some folds while commuting from home to work or school or whatever makes you commute. I’ve seen people knitting so it’s not out of this world. And knitting needles can be dangerous. Paper is secure. You can’t even smoke in buses so it’s as safe as it gets!
Oh, and I, or you, can fold while waiting for the bus! I love when I have these very basic yet grounded and obvious ideas.
Author of the cat: 高井弘明/ TAKAI Hiroaki.
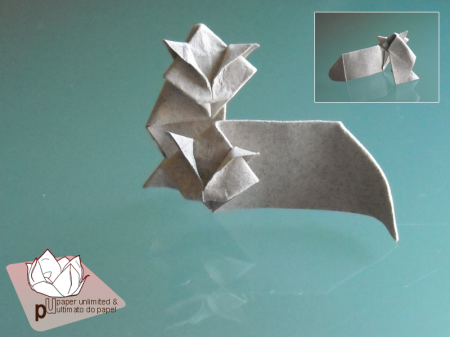
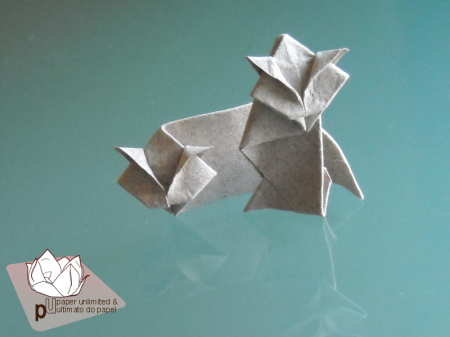
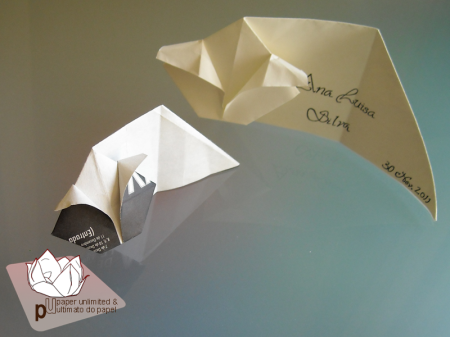
About the cats: this is a simple version, there is another version, of a more detailed cat. I’ve learnt this cat, the simple, by unfolding a model used by a friend as an id plate. The one in the photo with the name. A friend of hers folded it, I saw it, took possession of it and tried my luck. I was lucky with the black and white cat. I then noticed that some folds were unnecessary and folded the calico cat.
Then, by chance, I saw a image named “cat by Eric Bergmark”. It’s made on a dollar bill with quite nice results since the o of one serve as a cat eye. On a side note: Is it me or I’m being pursued by one dollar bills? You can see the post on the asian dragon for further enlightenment about me and 1 US$. Returning to the cat: I consulted a nice friend of mine named google and it revealed the cat’s author. It’s on the Origami USA page: the cat in a calendar, nicely folded and even better photographed.
The google search also showed a standing cat so I tried folding it too: it’s the red cat. I also folded the cat from a square paper resulting in a kitten; when you control the paper sizes of different models it turns out quite nice!

The almost white cats are wet folded and are made with heavy paper. 100grams per square meter. As you can see the back of the model holds no charm.
Paper ratio: 1:1, or a square paper, gives you a kitten; a 1:1.5 ratio is fine for either the standing or normal cats. The normal cat can be made with ratios closer to 1:1. It depends on how you like your cats, longer or shorter.
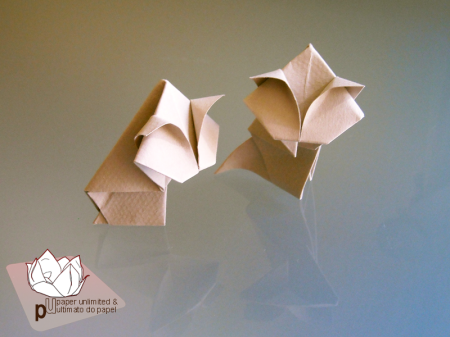
The light brown grayish cats are the last I made. I loved folding them! Made with wet folded canson.
Kitten: paper is 5x5cm/ 1.96×1.96″; model is 2.5cm/ 1″ tall and 3.5cm/ 1.35″ wide.
Standing cat, longer tail: paper is 9x14cm/ 3.55×5.50″; model is 7cm/ 2.75″ tall and 5.5cm/ 2.15″ wide. (curled tail)
Standing cat, short tail: paper is 9x12cm/ 3.55×4.70″; model is 6.5cm/ 2.55″ tall and 5.5cm/ 2.15″ wide. (pointy tail)
Normal cat: paper is 9x12cm/ 3.55×4.70″; model is 9cm/ 3.55″ tall and 4.5cm/ 1.75″ wide.
The smaller side of the rectangle gives you control about the head size!
The diagram is available online. It has japanese text but it’s so easy to follow that you can just ignore it! Link on the first phrase.

I hope you like this cat. I’m going for simple things! The easier to fold, the better. Also, you may ignore my rumblings; but I hope they help you or somebody else!
myth: asian dragon

2012|02|18

Happy New Year!

* images now appear bigger and clicking on them reveals a bigger sized image of 800×600 pixels… It was about time I upgraded the image sizes! *

Yes, I know I’m quite late in new year’s greetings. 2012 being the year of the dragon I decided that the first post should be all about dragons. So I started folding a chinese modular dragon that I was eyeing for quite some time; I started the dragon and mid January arrived in a dash. I then though, I’ll make it in time for the Chinese New Year. One day, I picked up my dragon and it was already the 13th of February.
I decided to fold another dragon, a simple and cute one so I can finally wish people a Happy New Year.
That’s the not so short story of this post.

I present you the Asian Dragon. This diagram is by Gay Merril Gross and is featured at John Montroll’s Dollar Bill Origami book. It was love at first sight and then I realized: I have no dollar bills! Not one! That was what I forgot to ask a friend when he went to New York! One dollar bills! (And no, going to a local exchange currency shop never crossed my mind…)
A google search later I knew the proportions of a one dollar bill and cut some paper. Afterwards I remembered to make a dragon with an Euro Bill but since the proportions of the bills are different the dragon is shorter. But still cute.
And money paper is a good medium for origami. I might have found a good way to save some money. Really, I didn’t unfold the bill! Nor I plan to unfold it soon.

About the dragons:
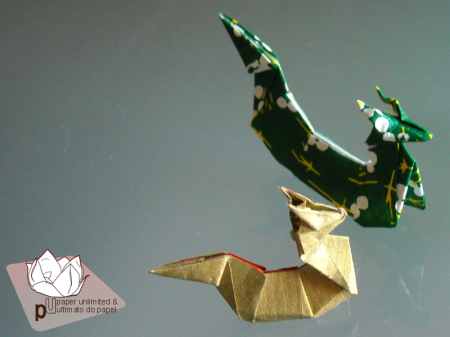
Golden Dragon: Kraft paper, 1:2 ratio. It was the paper I had in hand when I folded the first dragon!
Blue Dragon: a water dragon in kami paper, 1 dollar bill paper ratio. I like the the paper but I don’t like this dragon that much…
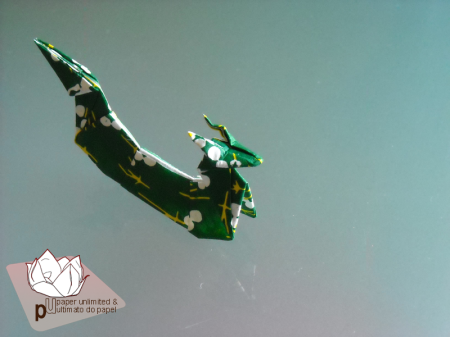
Green (flowery) Dragon: washi paper, 1 dollar bill paper ratio. Made in washi with traditional motives printed in the paper. This is also a water dragon but it likes greenery and flowers more!
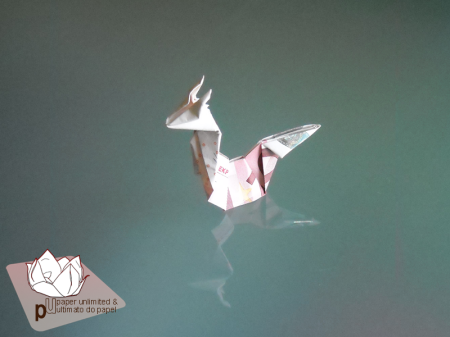
Money Dragon: this is a fire dragon! A dragon in it’s native element! This is a baby dragon. Hopefully it will grow from a nice €10 bill into a beautiful €500 bill. Please let me have hope. And delusions, too.

My wishes for 2012? Among other things is the obvious fold more! :)

A little note: western dragons are portrayed as the very symbol of evil in most cases but the Eastern/ Asian dragon is a symbol of luck, good will and power! It’s different in shape too: it resembles a snake with four eagle paws and in many oriental representations it holds a pearl.
The dragon’s element is fire, they have that in common with the western counterpart, and this year the dragon rules water. Water being related to emotions this will be a complicated year.
Dragon years are good to accomplish objectives. Actually, this is THE year to accomplish objectives. If not, until the next dragon year life can feel like standing still, and not in good way!

The image above shows a paper cut chinese dragon with a pearl.
I’ll share more about dragons, western and eastern when I finnish my dragon.

edit: I changed the title from “origami: asian dragon” to “myth: asian dragon”. I believe it is more appropriate and specific since I want to fold more dragons and mythological creatures.

block folding: mini swan

2011|08|05

Block folding, chinese modular origami or 3D origami strike once again! This was the fastest diagram I made for Waribashi. It totally slipped my mind and then “Hey, do you have a diagram for the magazine? We’re closing it…” and so I panicked and though and though some more and decided to stop thinking and start folding and taking photos and assembling the diagram! Some hours later I sent it… And now you have it too!

This is the mini swan! I explain: there are, at least, 3 swan models that are quite common.
The first is the swan, big with lots of pieces and several variations on the wings and tail and colours…
[edit: by big I mean with several hundreds of pieces: 700 to 900 pieces are common for this swan!]
Then, we have the second swan, the small sawn, a petite version, for fast assembly and a cute look. Also with some variations on tail and wings.
[edit: overall this swan needs 100 to 200 pieces!]
Finally we have the mini swan, a super small swan that’s really fast on folding and assembling… The diagram is a bit different of the other swans though! I saw a variation of this swan that added some beautiful wings and if I can reproduce it, it will end up here!

I like all these swans and for once I can start with the basic and then proceed to the more complex ones.
You can click here for downloading/ viewing the diagram (in pdf format).

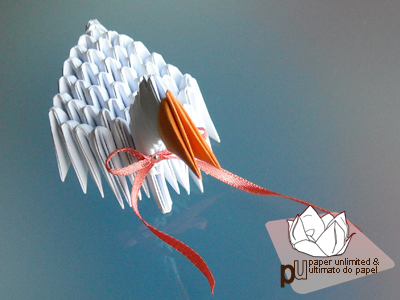
This swan has only 11 pieces for the neck and 45 for the body giving it a grand total of 56 pieces! Nice, very nice. (:
As in the last paperblock models the paper is 1:2. For regular copy paper the best paper size is 4x8cm, 1.5×3″, or 5x10cm, 2×4″. For thinner papers perhaps 3x6cm or 1×2″. Thicker papers and 6×12 or 8x16cm, 2.50×5 or 3×6″ usually are fine.
As in all models you should fold one to three pieces first to test the paper and how the paper reacts to assembly. Too stiff and your model will be hard to assemble and too malleable and it’s not easy either!

This model was folded from office notes of 4,5x9cm (1,75×3,50″). I just love to have (pre)cut paper available (;

First you should fold all 56 pieces. It’s only 56 pieces and since the assembly is so simple and fast you can do it in one go!
You can assemble the swan’s neck first (if you watt to put eyes on it you should put them where the symbol “o” is!) and then you assemble the body. The neck fits right at the middle on the first line of the body.
Another optional thing is the ribbon. It’s common but it’s your choice! You can see two photos with and two without a ribbon. You can put something prettier to hold the ribbon but I had none at home… Nor had I the time to go buy one, too. This is why a little planning before folding can come in handy!

About the glue: if you want to use it, for stability or for a give away swan, I’m going to say what I always say: white glue for wood is the best! You have it simple or fast drying, either way it’s transparent when dry and you can mix it with water and cover your model with it. It gives a shiny acrylic feeling to the model.
You can also adjust the pieces after gluing but you should assemble the model fast for that!
Happy folding!