Archive for the ‘block folding’ Category

block folding: mini swan

2011|08|05

Block folding, chinese modular origami or 3D origami strike once again! This was the fastest diagram I made for Waribashi. It totally slipped my mind and then “Hey, do you have a diagram for the magazine? We’re closing it…” and so I panicked and though and though some more and decided to stop thinking and start folding and taking photos and assembling the diagram! Some hours later I sent it… And now you have it too!

This is the mini swan! I explain: there are, at least, 3 swan models that are quite common.
The first is the swan, big with lots of pieces and several variations on the wings and tail and colours…
[edit: by big I mean with several hundreds of pieces: 700 to 900 pieces are common for this swan!]
Then, we have the second swan, the small sawn, a petite version, for fast assembly and a cute look. Also with some variations on tail and wings.
[edit: overall this swan needs 100 to 200 pieces!]
Finally we have the mini swan, a super small swan that’s really fast on folding and assembling… The diagram is a bit different of the other swans though! I saw a variation of this swan that added some beautiful wings and if I can reproduce it, it will end up here!

I like all these swans and for once I can start with the basic and then proceed to the more complex ones.
You can click here for downloading/ viewing the diagram (in pdf format).

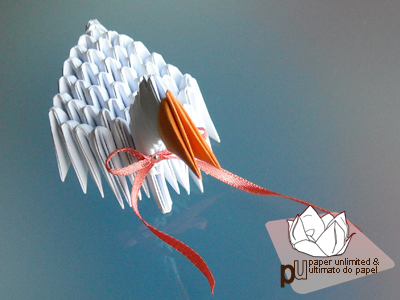
This swan has only 11 pieces for the neck and 45 for the body giving it a grand total of 56 pieces! Nice, very nice. (:
As in the last paperblock models the paper is 1:2. For regular copy paper the best paper size is 4x8cm, 1.5×3″, or 5x10cm, 2×4″. For thinner papers perhaps 3x6cm or 1×2″. Thicker papers and 6×12 or 8x16cm, 2.50×5 or 3×6″ usually are fine.
As in all models you should fold one to three pieces first to test the paper and how the paper reacts to assembly. Too stiff and your model will be hard to assemble and too malleable and it’s not easy either!

This model was folded from office notes of 4,5x9cm (1,75×3,50″). I just love to have (pre)cut paper available (;

First you should fold all 56 pieces. It’s only 56 pieces and since the assembly is so simple and fast you can do it in one go!
You can assemble the swan’s neck first (if you watt to put eyes on it you should put them where the symbol “o” is!) and then you assemble the body. The neck fits right at the middle on the first line of the body.
Another optional thing is the ribbon. It’s common but it’s your choice! You can see two photos with and two without a ribbon. You can put something prettier to hold the ribbon but I had none at home… Nor had I the time to go buy one, too. This is why a little planning before folding can come in handy!

About the glue: if you want to use it, for stability or for a give away swan, I’m going to say what I always say: white glue for wood is the best! You have it simple or fast drying, either way it’s transparent when dry and you can mix it with water and cover your model with it. It gives a shiny acrylic feeling to the model.
You can also adjust the pieces after gluing but you should assemble the model fast for that!
Happy folding!
block folding: turtle

2010|11|23

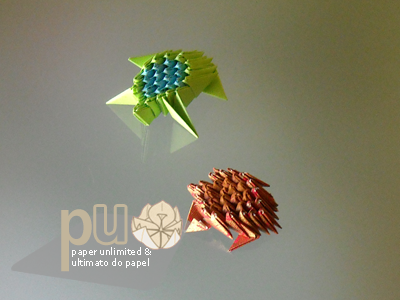
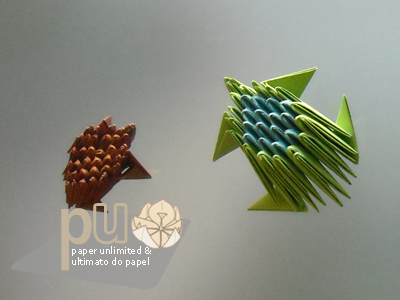
A traditional block folding model. This is a very simple diagram with at least two variants; the blue and green turtle is from the main diagram and the smaller one, in earth tones, is the variation one.
The base piece is the same for all block folding diagrams. These turtles are assembled almost identically to the fish; the main difference is how the “paws” are joined in between the assembled body pieces. The assembly varies a little for the two turtles! Almost not noticeable.

block folding turtles

Once again, this model does not need glue but you can use it to enhance the models’ resistance.
The blue and green turtle was made with office notes, the ones without glue and the smaller one with some heavier and patterned paper. And smaller size pieces too.

block folding turtles

The diagram is very simple and only has the assembly diagrams, for more on how to fold the base piece, please check the block folding fish diagram out.

block folding: fish

2010|07|28

Block folding or origami block (折り紙ブロック) as well as paper block (ペーパーブロック), origami handicraft (折り紙手芸), chinese modular origami and 3D origami are some of the designations of this particular type of origami. This particular type of origami is made with hundreds (literally) of the same small piece assembled in a shape of a particular model: animals, anime figures, fruits and just about everything one can think of.
This is the first “real” block folding posts following the mini pineapple one. The mini pineaple, final version, and swans are next! (:

paper block fish

This particular model was devised by me for one to understand how the pieces/ blocks “join” or are assembled together. I made it simple and with just 31 pieces/ blocks since if you want to understand it you don’t have to fold 300 or more pieces to just stare at them…
In some models there are some larger or smaller pieces to facilitate assembly but this post is just about the basics! You’ll need 31 rectangular pieces of paper. In the diagram I used 4 colours, as you can see in the photos, but you can do it in a single colour, two colours, or any number of colours! Publicity paper is fine too! The important thing is the paper resistance; the paper should be resistant but flexible enough or the model will be too sturdy to assemble and therefore will require glue.
The paper has a 1:2 proportion; for copy and printing paper 4×8 or 5x10cm paper, 1.50×3″ or 2×4″, is fine, the later being the better. If you have square coloured office notes, the ones without glue are better, you can just divide them in half, the size is just perfect! For magazine paper and similar papers you should use smaller papers: 2.5×5 or 3x6cm, 1×2″ or 1.20×2.40″. Anyway, if in doubt the bigger the paper, the better: it will be easier to fold and assemble. You can do another model with smaller pieces after you understand and assemble this first one (:

paper block fish

In the diagram file you’ll find the base diagram for the piece/ block and then the fish assembly. The assembly is first showed using standard representation of it (you can find similar representations in books about this type of paper folding) and then a summarised version of the assembly almost line by line. It starts at the fish head and then goes all the way up. Pay attention to where the pockets and flaps are according to the diagram; triangles with a line from base to the top are pieces/ blocks have half of them are left “free” to better represent fins.
If you like, you can use glue; if so, white glue for wood and DIY purposes, is good. Almost invisible when dry it doesn’t leave glue hairs/ strings and is easily reposition-able until dry.

block folding: mini pineapple

2009|07|11

Also known as chinese modular origami or 3D origami. Block folding is actually one of the japanese designations. Actually since this is another of the “I’m still alive posts”, I won’t post that much information…

mini (hibrid) pineapple (blocK folding)

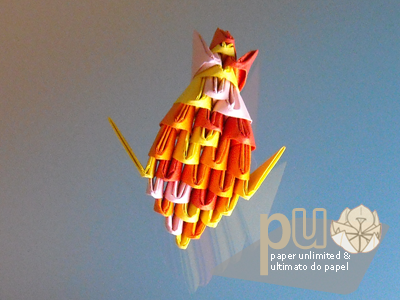
This is a minipineapple. Not that you can tell from the colours… These units were meant for a swan – yes, a white and pink swan. I admit, pink is one of my favourite colours! (: Anyway with almost all units folded I then saw the mini pineapple and went for it; even in these colours. This is my 3rd try in block folding and the first successful one. The other are still in unit stage, somewhere.
Due to the strange colouring it’s nicknamed “hibrid pineapple”; it’s an hibrid between a pineapple and a milk and strawberry shake. (: It has 170 total units! Base: 14units; “lines” 1~10: 13units/each; in lines 3, 5 and 7 there are pink units that should be dark orange or brown. The overall units should be yellow and the two top “lines” (2×13 units) should be dark green or a brownish green – that’s “lines” 9 & 10. Anyway, it’s cute! When the proper coloured version is finished I’ll also upload the diagram. I’ll also refer to the proper japanese and chinese names of this type of origami.